SpringBoot發佈將靜態資源及設定抽離
2020/07/29 19:59:58
1
1623
前言
通常我們會將SpringBoot發布變成一個Jar檔就可直接執行非常方便,但是如果想要改一個設定或是更新JSON檔,就得重新打包再將Jar檔上傳到Server這樣每次都要重部署十分沒有效率。
這裡要示範如何將靜態資源檔跟設定分離。
一、靜態資源檔分離
首先新增一個繼承WebMvcConfigurer的java檔
程式如下
import org.springframework.context.annotation.Configuration;
import org.springframework.web.servlet.config.annotation.ResourceHandlerRegistry;
import org.springframework.web.servlet.config.annotation.WebMvcConfigurer;
@Configuration
public class WebConfiguration implements WebMvcConfigurer {
@Override
public void addResourceHandlers(ResourceHandlerRegistry registry) {
registry.addResourceHandler("/**")
.addResourceLocations("file://{外部目錄位置}/");
}
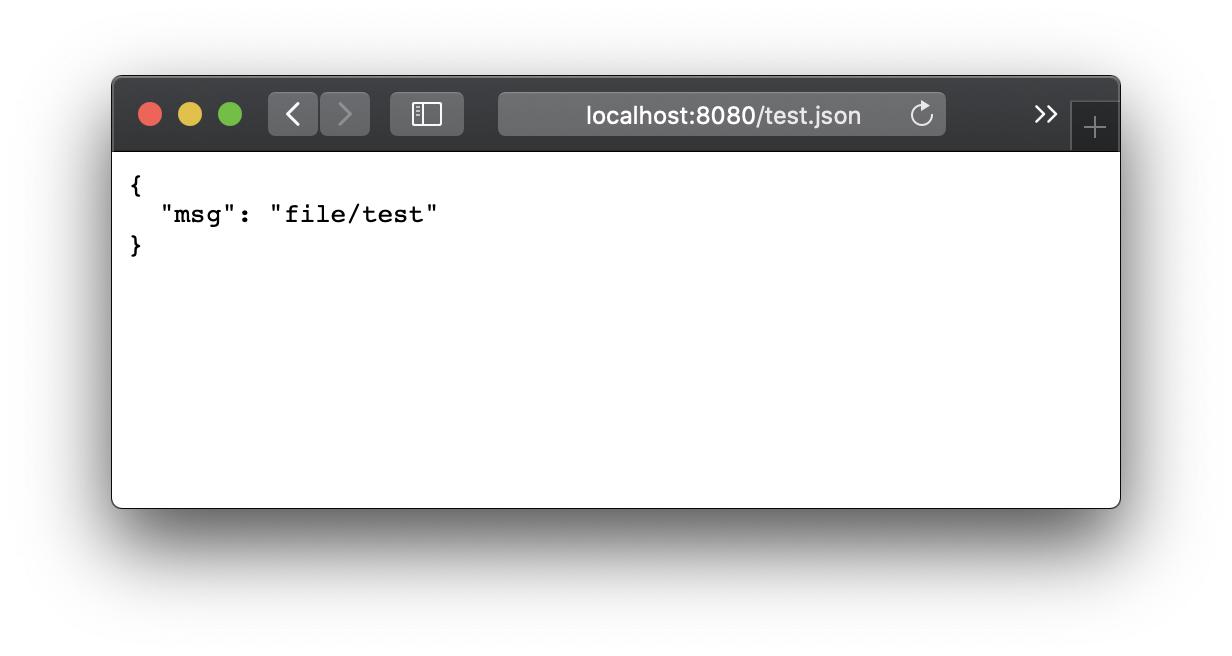
}將{外部目錄位置}改為指定的外部位置即可,接下來我們測試看看在{外部目錄位置}裡面放一個test.json
資料如下
{
  "msg": "file/test"
}
執行會出現下面畫面
也可以使用application.properties設定spring.resources.static-locations參數
內容如下
spring.resources.static-locations=file://{外部目錄位置}/
同樣可以達到一樣的功能,這個方式可以配合需求在設定分離後修改位置。
二、設定分離
在設定檔分離前,先建立一個Controller的/test對應的測試
程式如下
import org.springframework.stereotype.Controller;
import org.springframework.web.bind.annotation.RequestMapping;
import org.springframework.web.bind.annotation.ResponseBody;

@Controller
public class TestController {
  @RequestMapping("/test")
  @ResponseBody
  public String test(){
    return env.getProperty("tpi.show");
  }
}將application.properties複製到外部目錄位置並加上設定tpi.show參數
內容如下
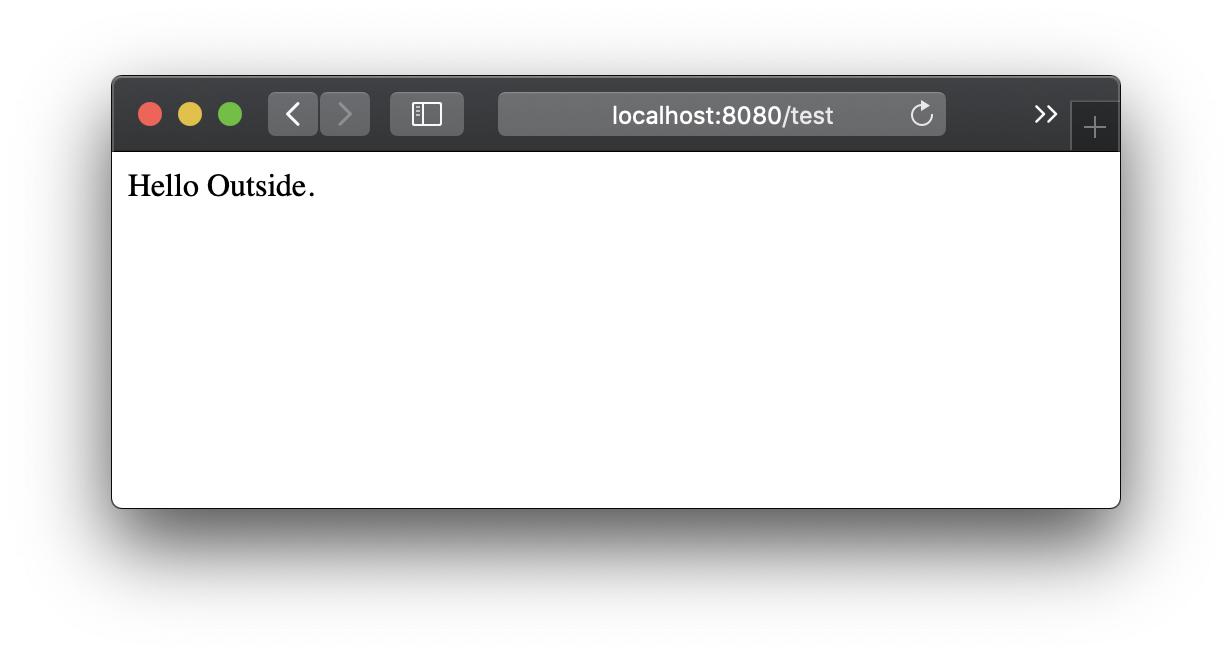
tpi.show=Hello Outside.
在執行jar檔時加上參數spring.config.location
指令如下
java -jar -Dspring.config.location=file://{外部目錄位置}/ {jar檔}顯示執行會出現下面畫面
三、結論
將靜態資源檔跟設定分離,有助於發佈到多台主機上,在不必重包Jar檔案的狀況下,修改設定以及新增刪除靜態資源檔,節省佈版的時間。

相關文章