好玩的 Electron - 做一個簡單的應用程式
好玩的 Electron - 做一個簡單的應用程式
Electron 簡介
如同Electron 的官方網站標題,
「使用 JavaScript、HTML 和 CSS 打造跨平臺桌面應用程式 」- ELECTRON
一言以蔽之。
由GitHub開發,更名前叫做 Atom Shell,將 Node.js 運行環境與Chromium 引擎結合而成的開源框架(open-source software framework ),由ELECTRON 開發的應用程式中較為著名的有Visual Studio Code (微軟)、ATOM(GitHub)、Messenger(Facebook)、Slack(Slack Technologies)...等。
建立專案
那我們開始來建立這個好玩的Electron專案囉!
首先由於開發環境基於node.js所以先安裝node.js 吧,Electron官網建議使用最新版本(LTS 或 Current 擇一即可) 下載頁面。
安裝完後可以進終端機下指令確認一下是否安裝完成
| # Node.js 版本 # npm 版本 |
若兩個指令都有打印出版號代表你已安裝完成!
接下來就可以選擇你想用的IDE工具來開發吧!
我個人使用的是Visual Studio Code。
1. 首先建立專案路徑:於要建立專案的路徑下建立資料夾(ex: have-fun)
2. cd have-fun 至資料夾內
3. npm init 初始化專案,會填寫package.json 相關資訊
3-1. 因electron 應用程式基本組成結構為
your-app/
├── package.json
├── main.js
└── index.html
package.json:
| { "name": "have-fun", "version": "1.0.0", "description": "have fun project", "main": "main.js", "scripts": { “start": "electron ." }, "author": "Blaze", "license": "ISC" } |
4. 接著安裝electron 於devDependencies 指令 npm install --save-dev electron
4-1. 安裝完 have-fun/node_modules/ 路徑下會多一electron資料夾,來放下載的electron。
4-2. have-fun/ 路徑下會生成 package-lock.json(描述npm 對node_modules 修改的操作,npm install / uninstall /update 都會更新 package-lock.json)。
4-3. package.json devDependencies 欄位也會加入依賴:

5. main.js 與 index.html
Electron 官網上有範例 先使用範例即可。
main.js:
| const { app, BrowserWindow } = require('electron') function createWindow () { // Create the browser window. const win = new BrowserWindow({ width: 800, height: 600, webPreferences: { nodeIntegration: true } }) // and load the index.html of the app. win.loadFile('index.html') } app.whenReady().then(createWindow) |
index.html:
| <!DOCTYPE html> <html> <head> <meta charset="UTF-8"> <title>Hello World!</title> <!-- https://electronjs.org/docs/tutorial/security#csp-meta-tag --> <meta http-equiv="Content-Security-Policy" content="script-src 'self' 'unsafe-inline';" /> </head> <body> <h1>Hello World!</h1> We are using node <script>document.write(process.versions.node)</script>, Chrome <script>document.write(process.versions.chrome)</script>, and Electron <script>document.write(process.versions.electron)</script>. </body> </html> |
指令 npm start 運行應用程式目前狀態。

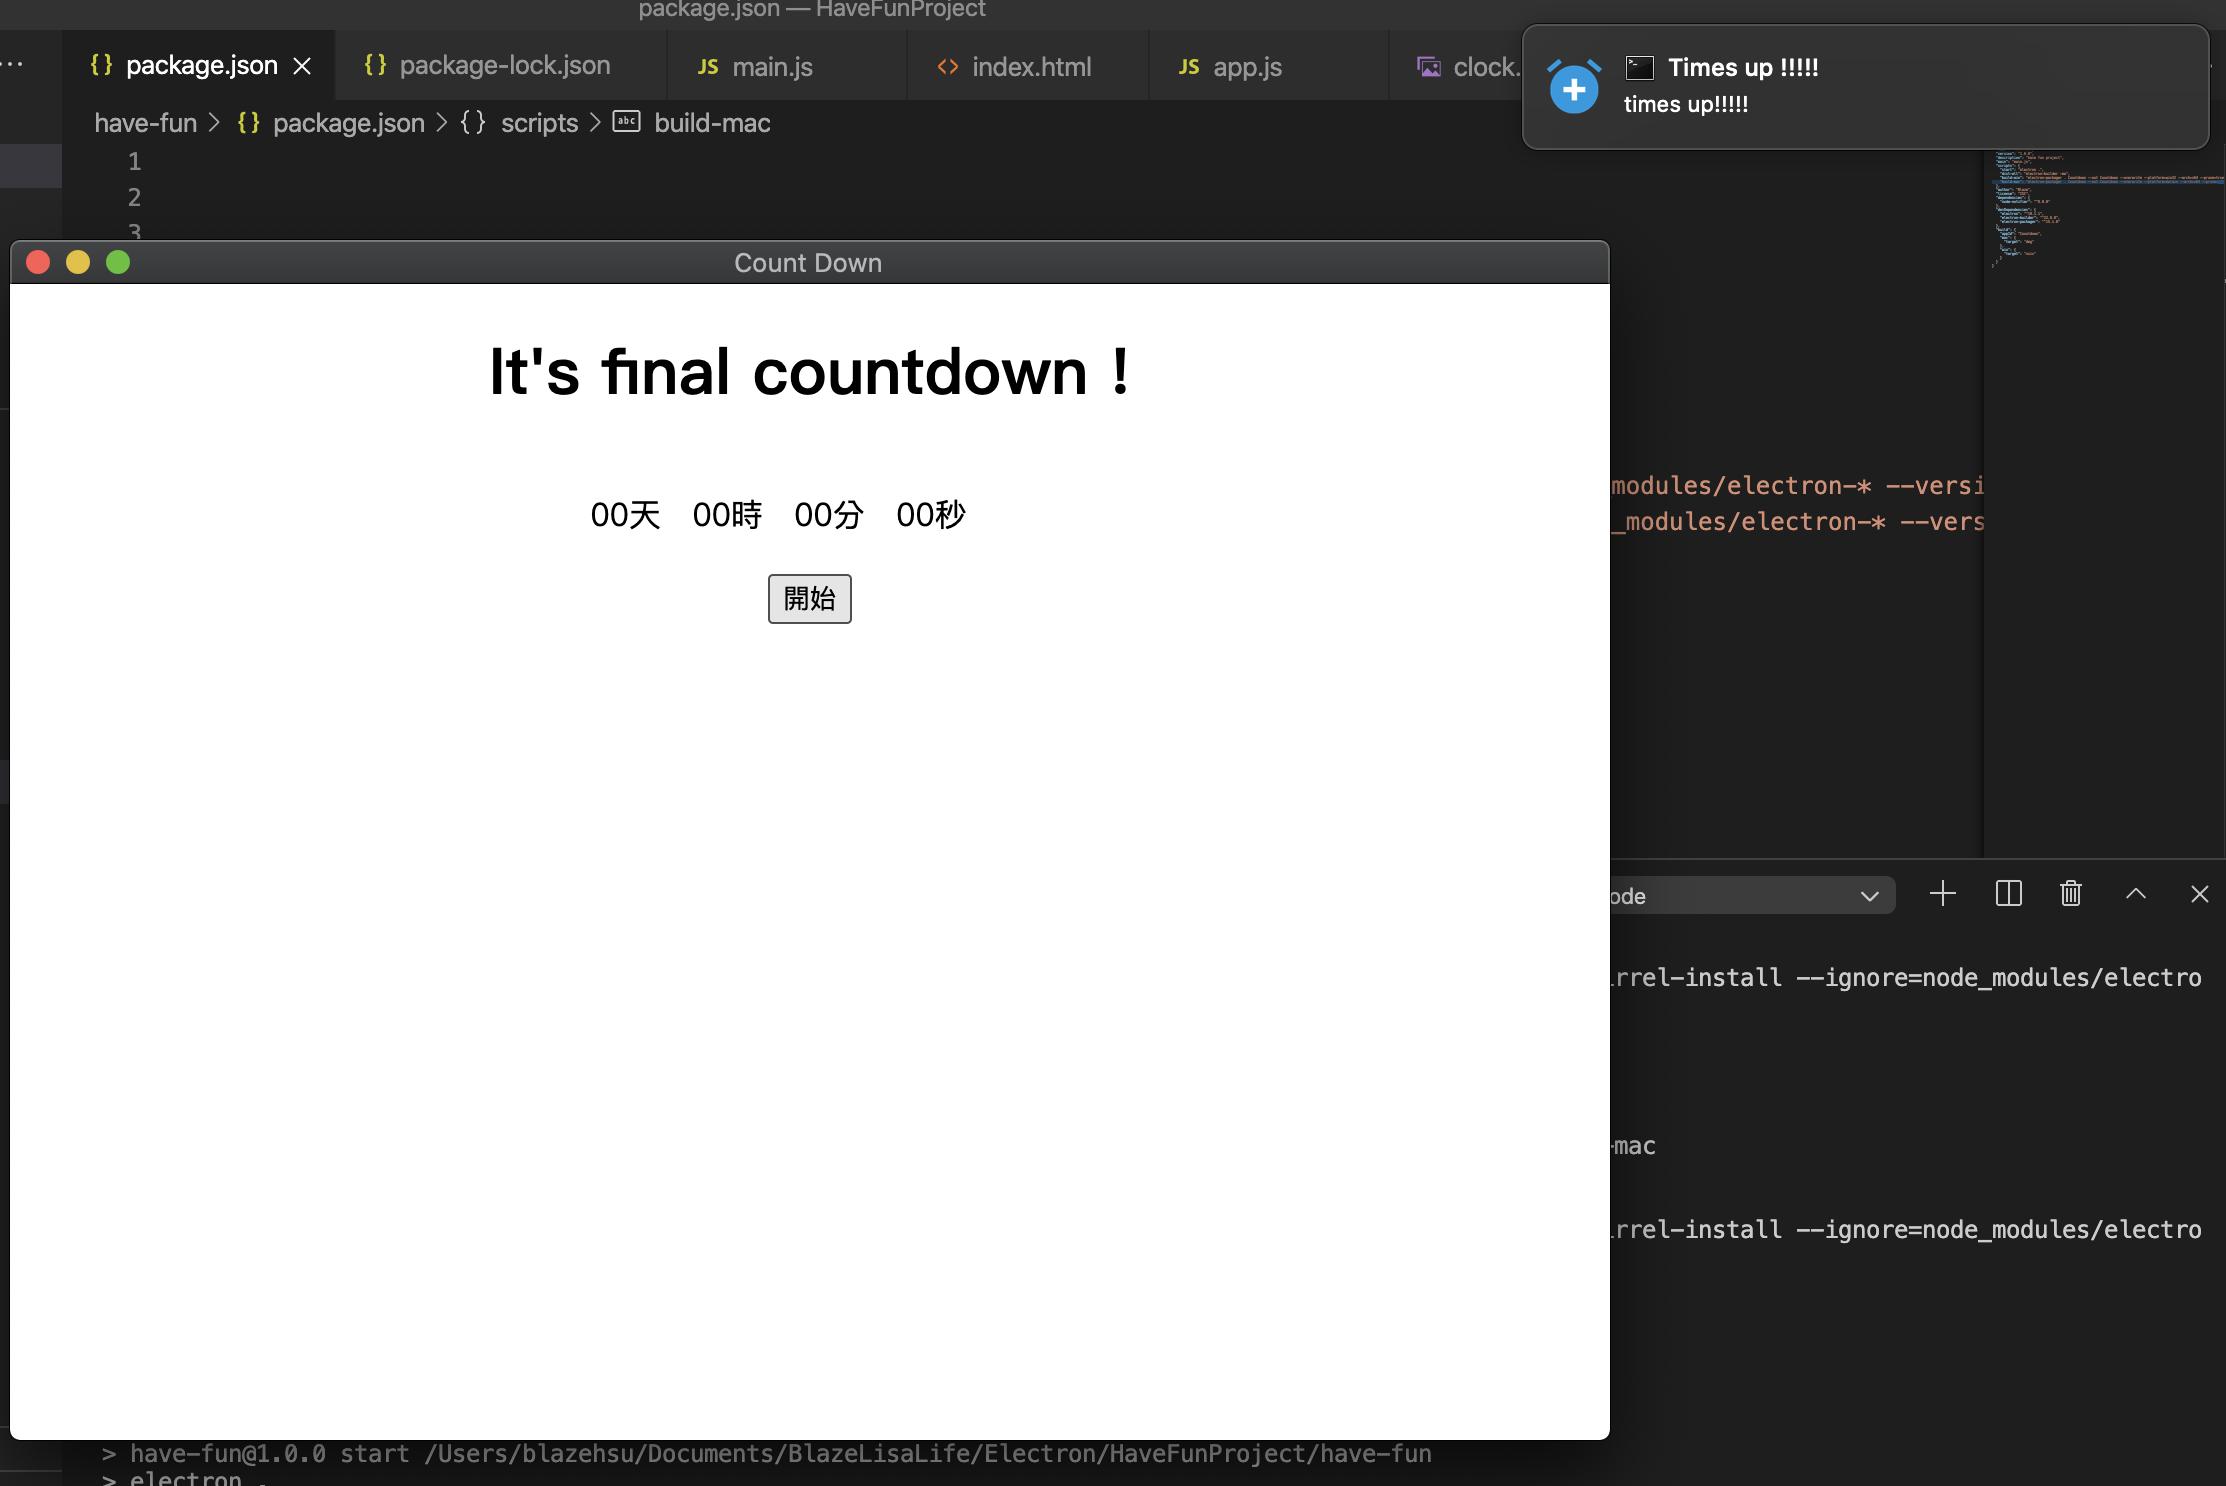
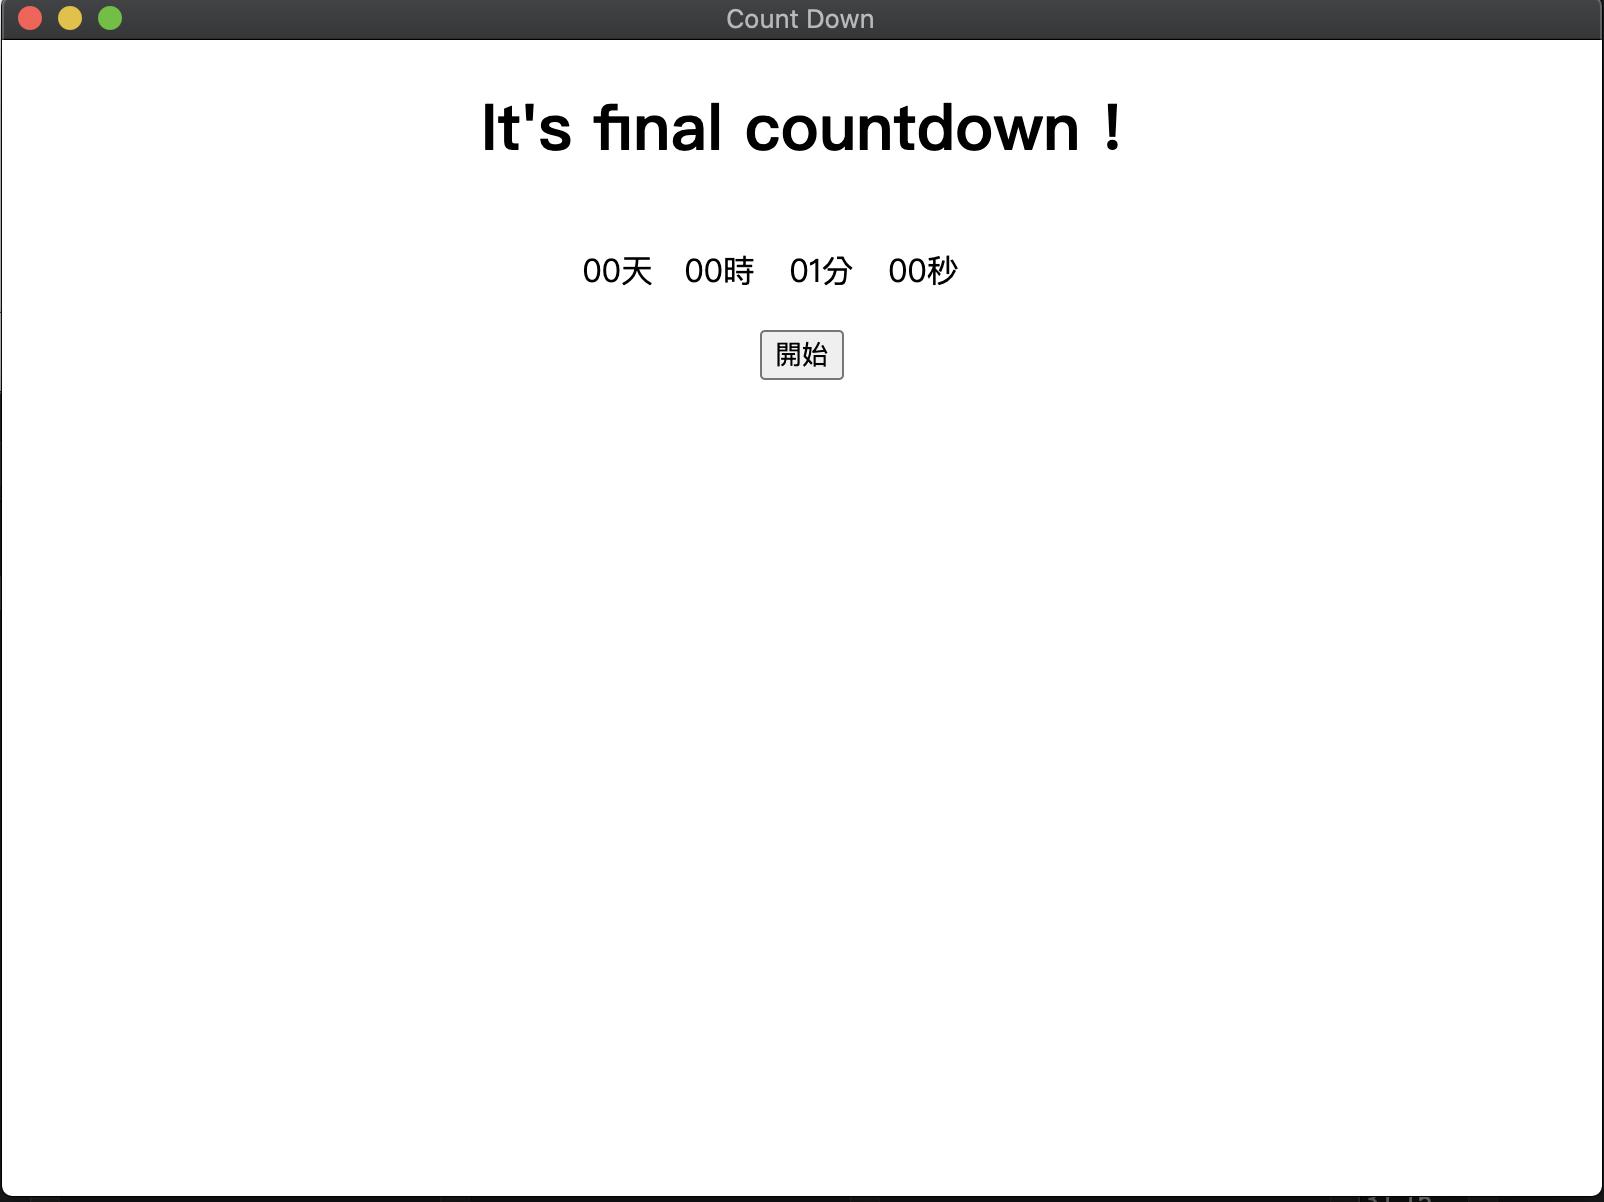
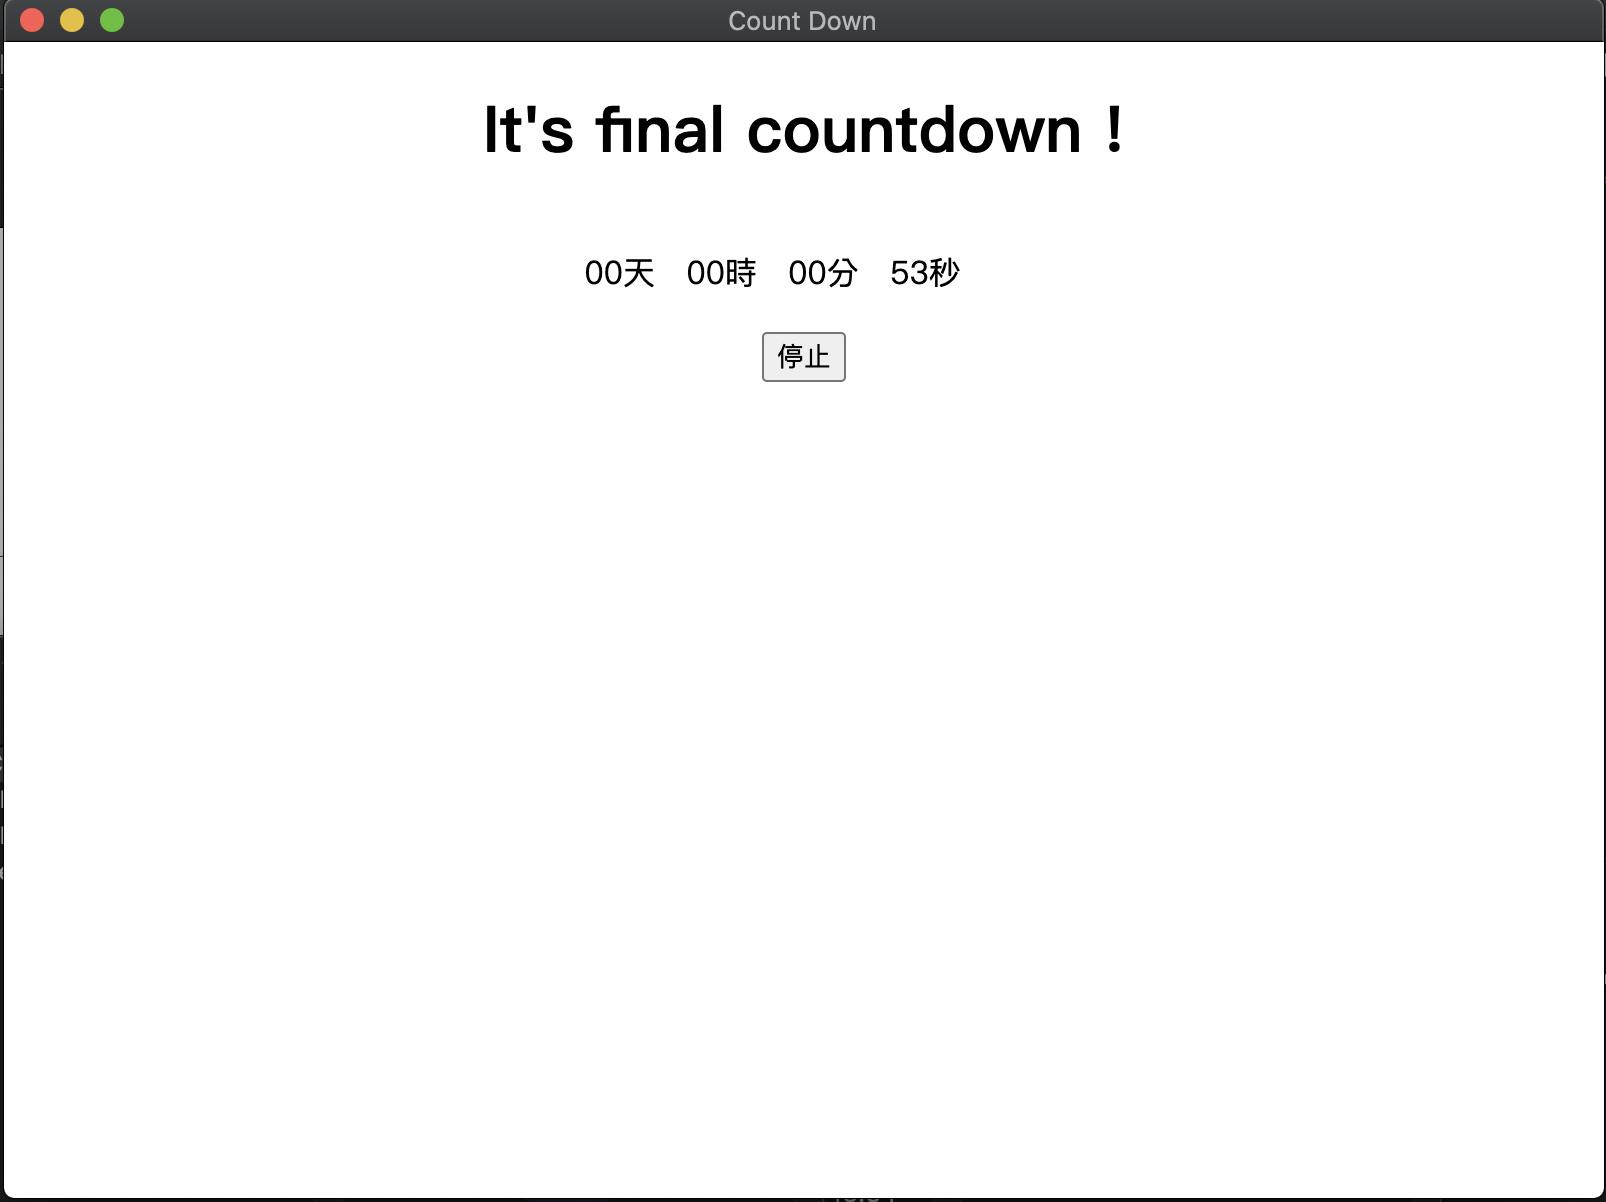
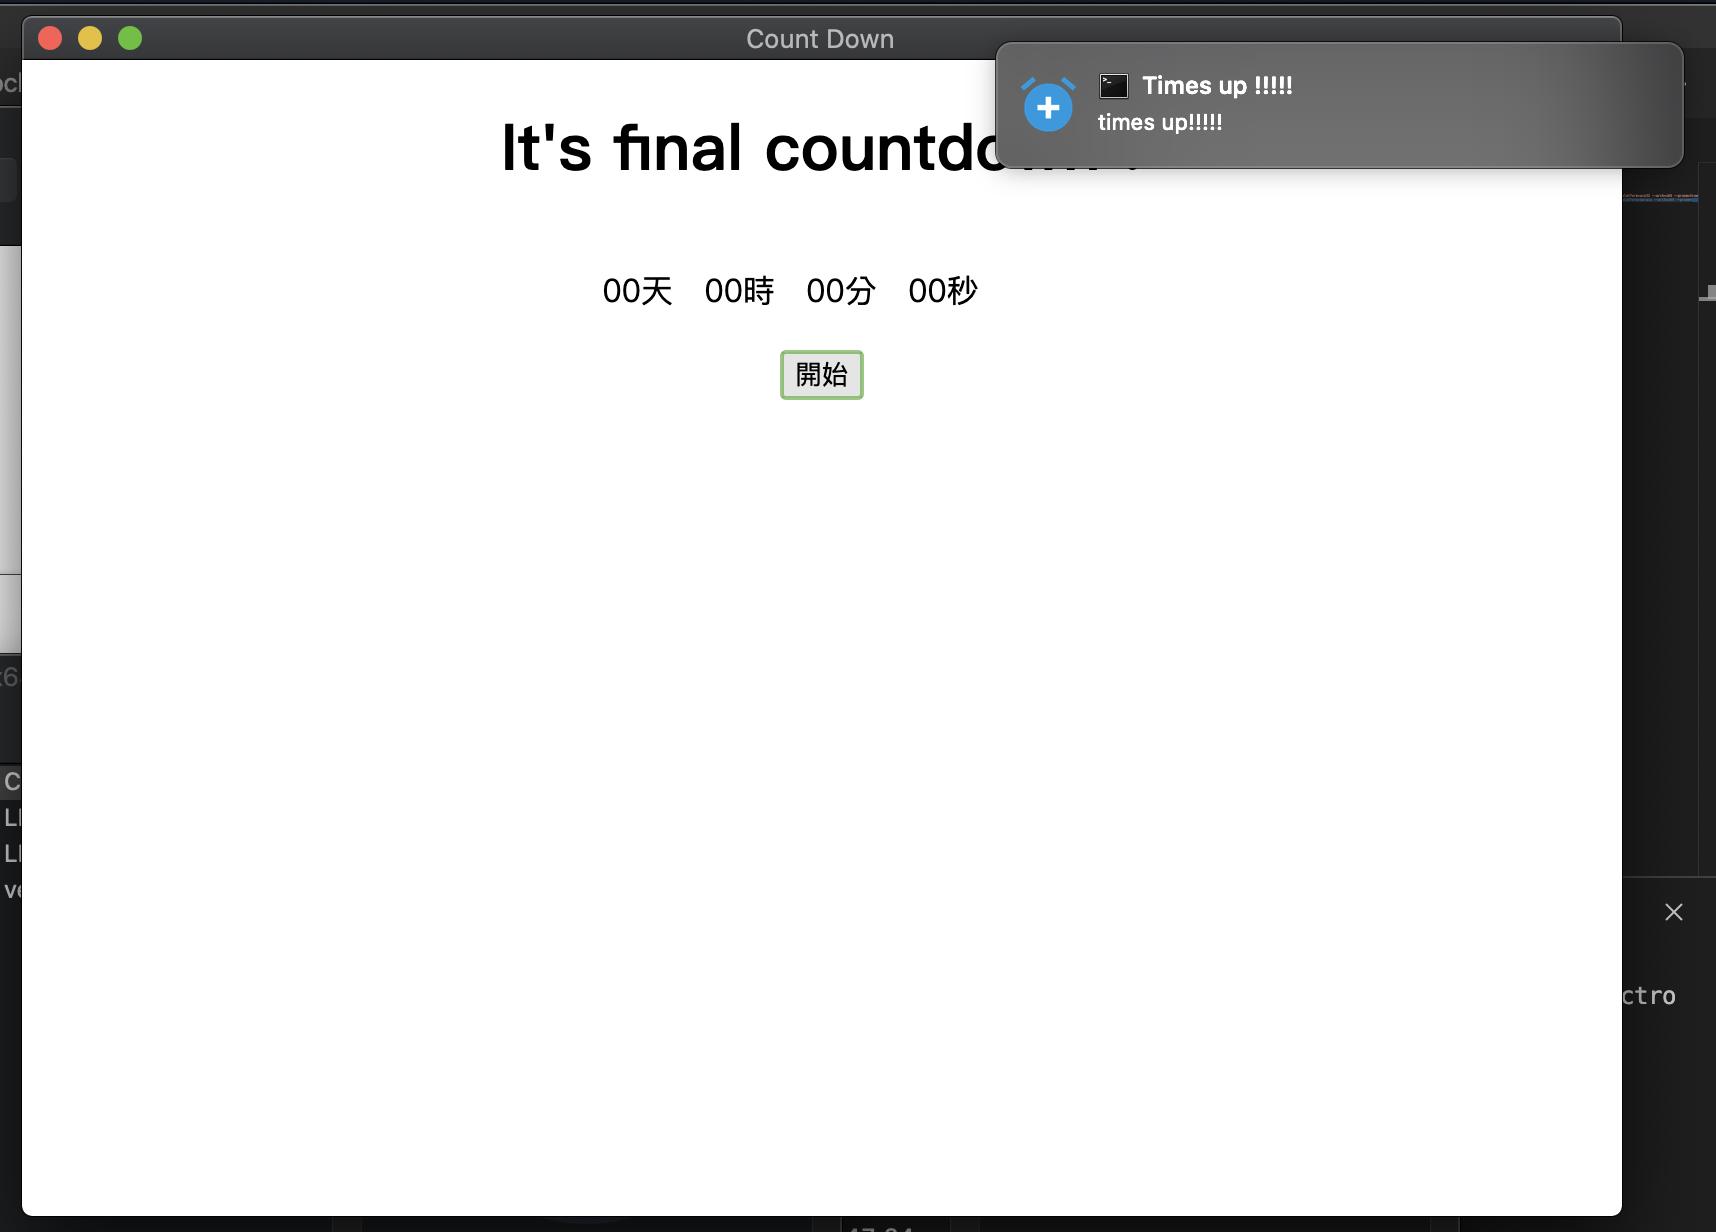
倒數計時器Demo
先拉基本倒數計時畫面並載入倒數計時主程式 app.js
index.html:
| <!DOCTYPE html> <html> <style> p{ float: left; width: 10%; } </style> <head> <meta charset="UTF-8"> <title>Count Down</title> <!-- https://electronjs.org/docs/tutorial/security#csp-meta-tag --> <meta http-equiv="Content-Security-Policy" content="script-src 'self' 'unsafe-inline';" /> </head> <body> <h1 style="text-align: center;">It's final countdown !</h1> <div style="text-align: center; padding-left: 35%;"> <p><span id="day" onclick="addTime(this.id)">00</span>天</p> <p><span id="hour" onclick="addTime(this.id)">00</span>時</p> <p><span id="min" onclick="addTime(this.id)">00</span>分</p> <p><span id="sec" onclick="addTime(this.id)">00</span>秒</p> </div> <div style="width: 100%; margin-top: 10% ;text-align: center;"> <button id="actionBtn">開始</button> </div> <script src="app.js"></script> </body> </html> |

app.js:
| //通知套件使用node-notifier (可用npm安裝,這邊不多做說明) const notifier = require('node-notifier') const path = require('path') var x; //增加時間 function addTime(timeType){ var val = document.getElementById(timeType).innerHTML switch (timeType) { case 'day': val ++; break; case 'hour': val ++ ; if( val == 24){ val = 0; } break; default: val ++ ; if( val == 60){ val = 0; } break; } if(val < 10){ val = doubleDigit(val); } document.getElementById(timeType).innerHTML = val; } document.getElementById('actionBtn').addEventListener('click',function () { if(this.innerHTML === '開始'){ startCountDown(); this.innerHTML = '停止' }else{ stopCountDown(); } }) //開始倒數 function startCountDown() { x = setInterval(function () { var days = Number(document.getElementById('day').innerHTML); var hours = Number(document.getElementById('hour').innerHTML); var minutes = Number(document.getElementById('min').innerHTML); var seconds = Number(document.getElementById('sec').innerHTML); if(seconds != 0){ seconds --; }else{ if(minutes != 0){ minutes --; seconds = 59; }else{ if(hours != 0){ hours --; minutes = 59; seconds = 59; }else{ if(days != 0 ){ days --; hours = 23; minutes = 59; seconds = 59; }else{ alert('請設定倒數時間!') stopCountDown(); return; } } } } document.getElementById('day').innerHTML = days < 10 ? doubleDigit(days) : days; document.getElementById('hour').innerHTML = hours < 10 ? doubleDigit(hours) : hours; document.getElementById('min').innerHTML = minutes < 10 ? doubleDigit(minutes): minutes; document.getElementById('sec').innerHTML = seconds < 10 ? doubleDigit(seconds) : seconds; console.log(`days ${days}, hours ${hours}, min ${minutes}, sec ${seconds}`) if (seconds == 0 && minutes == 0 && hours == 0 && days == 0) { //時間到通知 notifier.notify({ title: 'Times up !!!!!', message: 'times up!!!!!', icon: path.join(__dirname, ‘clock.png’),//圖片自己找 sound: true, }) stopCountDown(); } }, 1000); } //關閉倒數 function stopCountDown(){ console.log('stop countdown...') clearInterval(x); document.getElementById('actionBtn').innerHTML = '開始' } //美化用增加位數 (補0) function doubleDigit(val){ return '0'+val; } |
npm start 試執行看看,看起來可以正常執行呢。
程式打包
此範例運用 electron-packager 打包應用程式
安裝 electron-packager
npm install electron-packager --save-dev
package.json
於scripts 新增包版指令
| "build-win": "electron-packager . Countdown --out Countdown --overwrite --platform=win32 --arch=x64 --prune=true --ignore=node_modules/electron-* --version-string.CompanyName=Blaze --version-string.ProductName=Countdown", "build-mac": "electron-packager . Countdown --out Countdown --overwrite --platform=darwin --arch=x64 --prune=true --ignore=node_modules/electron-* --version-string.CompanyName=Blaze —version-string.ProductName=Countdown" 解釋: electron-packager . Countdown (打包應用程式 名稱) --out Countdown (產出資料夾名稱-platfrom-arch) --overwrite (資料夾名稱重複時覆蓋) --platform=darwin (平台 win32/darwin/linux) --arch=x64 (應用程式位元) --prune=true (不複製devDependencies 依賴內容) --ignore=node_modules/electron-* (不包含路徑下檔案) --version-string.CompanyName=Blaze (公司名) --version-string.ProductName=Countdown (專案名) |
執行 npm run build-mac (or build-win)
成功時會建立對應資料夾,你的應用程式就會在裡面了

開啟應用程式
執行 -> 設定 -> 完成
結論
以上展示運用Electron 建立桌面應用程式,是不是很好玩呀!
對於網頁開發人員來說,一點也不陌生,還有只要開發同一包程式,即可在不同平台上使用,是真的蠻方便的拉!
我這邊只是簡單的介紹利用Electron 來製作一些小工具類型的桌面應用程式讓大家也可以一起來玩一玩!當然他還有很多更好玩的更有趣的發展,我也還在學習中XDD,希望此篇「好玩的Electron-做一個簡單的應用程式」對大家有幫助囉!感謝您的閱讀!下次再會~
參考資料
Electron Doc - https://www.electronjs.org/docs
Npm node-notifier -https://www.npmjs.com/package/node-notifier
electron-packager -https://github.com/electron/electron-packager