簡單搭建High-Availability Kubernetes Master cluster
本文將介紹如何簡單搭建kubernetes HA cluster
採用haproxy搭配keepalived
將在所有master node 上安裝keepalived實現服務的高可用
在所有master node 上安裝haproxy做apiserver的load balance
container runtime 採用 crio 1.21.0
kube-proxy採用 IPVS mode
• 環境簡介
| hostname | 用途 | ip | os |
| k8s-01-master-node-01 | master node | 192.168.218.44 | CentOS Linux 8 |
| k8s-01-master-node-02 | master node | 192.168.218.60 | CentOS Linux 8 |
| k8s-01-master-node-03 | master node | 192.168.218.59 | CentOS Linux 8 |
| k8s-01-worker-node-01 | worker node | 192.168.218.47 | CentOS Linux 8 |
| k8s-01-worker-node-02 | worker node | 192.168.218.45 | CentOS Linux 8 |
| k8s-01-worker-node-03 | worker node | 192.168.218.46 | CentOS Linux 8 |
| VIP | 192.168.218.100 |
• step 1 在所有node 上設定hostname
hostnamectl  set-hostname k8s-01-master-node-01
hostnamectl  set-hostname k8s-01-master-node-02
hostnamectl  set-hostname k8s-01-master-node-03
hostnamectl  set-hostname k8s-01-worker-node-01
hostnamectl  set-hostname k8s-01-worker-node-02
hostnamectl  set-hostname k8s-01-worker-node-03
vi /etc/hosts192.168.218.44 k8s-01-master-node-01
192.168.218.60 k8s-01-master-node-02
192.168.218.59 k8s-01-master-node-03
192.168.218.47 k8s-01-worker-node-01
192.168.218.45 k8s-01-worker-node-02
192.168.218.46 k8s-01-worker-node-03• step 2 關閉防火牆
在所有node 上做此步驟
systemctl stop firewalld && systemctl disable firewalld
• step 3 安裝ipvsadm
在所有node 上做此步驟
yum -y install ipvsadm
• step 4 關閉swap
在所有node 上做此步驟
swapoff -a && sed -i '/ swap / s/^\(.*\)$/#\1/g' /etc/fstab
• step 5 安裝crio
在所有node 上做此步驟
cat <<EOF | sudo tee /etc/modules-load.d/crio.conf
overlay
br_netfilter
EOF

sudo modprobe overlay && sudo modprobe br_netfilter

cat <<EOF | sudo tee /etc/sysctl.d/99-kubernetes-cri.conf
net.bridge.bridge-nf-call-iptables  = 1
net.ipv4.ip_forward                 = 1
net.bridge.bridge-nf-call-ip6tables = 1
EOF

sudo sysctl --system && sudo systemctl daemon-reload

cat <<EOF > install-crio.sh
curl -L -o /etc/yum.repos.d/devel:kubic:libcontainers:stable.repo https://download.opensuse.org/repositories/devel:/kubic:/libcontainers:/stable/CentOS_8/devel:kubic:libcontainers:stable.repo
curl -L -o /etc/yum.repos.d/devel:kubic:libcontainers:stable:cri-o:1.21.repo https://download.opensuse.org/repositories/devel:kubic:libcontainers:stable:cri-o:1.21/CentOS_8/devel:kubic:libcontainers:stable:cri-o:1.21.repo
yum install cri-o -y
EOF

sh install-crio.sh
sudo ln -s $(which conmon) /usr/libexec/crio/conmon
systemctl start crio && systemctl enable crio
• step 6 安裝kubelet kubeadm kubectl
在所有node 上做此步驟
cat <<EOF | sudo tee /etc/yum.repos.d/kubernetes.repo
[kubernetes]
name=Kubernetes
baseurl=https://packages.cloud.google.com/yum/repos/kubernetes-el7-\$basearch
enabled=1
gpgcheck=1
repo_gpgcheck=1
gpgkey=https://packages.cloud.google.com/yum/doc/yum-key.gpg https://packages.cloud.google.com/yum/doc/rpm-package-key.gpg
exclude=kubelet kubeadm kubectl
EOF

# Set SELinux in permissive mode (effectively disabling it)
sudo setenforce 0
sudo sed -i 's/^SELINUX=enforcing$/SELINUX=permissive/' /etc/selinux/config

sudo yum install -y kubelet kubeadm kubectl --disableexcludes=kubernetes

sudo systemctl enable --now kubelet
• step 7 安裝haproxy、keepalived
在所有master node 上做此步驟
mkdir /etc/haproxy
vim /etc/haproxy/haproxy.cfg
haproxy.cfg
frontend kube-apiserver-https
   mode tcp
   bind :8443
   default_backend kube-apiserver-backend

backend kube-apiserver-backend
    mode tcp
    balance roundrobin
    stick-table type ip size 200k expire 30m
    stick on src
    server k8s-01-master-node-01 192.168.218.44:6443 check
    server k8s-01-master-node-02 192.168.218.60:6443 check
    server k8s-01-master-node-03 192.168.218.59:6443 check
vim /etc/kubernetes/manifests/haproxy.yamlhaproxy.yaml
kind: Pod
apiVersion: v1
metadata:
  annotations:
    scheduler.alpha.kubernetes.io/critical-pod: ""
  labels:
    component: haproxy
    tier: control-plane
  name: kube-haproxy
  namespace: kube-system
spec:
  hostNetwork: true
  priorityClassName: system-cluster-critical
  containers:
  - name: kube-haproxy
    image: docker.io/haproxy:2.3.10
    resources:
      requests:
        cpu: 100m
    volumeMounts:
    - name: haproxy-cfg
      readOnly: true
      mountPath: /usr/local/etc/haproxy/haproxy.cfg
  volumes:
  - name: haproxy-cfg
    hostPath:
      path: /etc/haproxy/haproxy.cfg
      type: FileOrCreate
vim /etc/kubernetes/manifests/keepalived.yamlkeepalived.yaml
kind: Pod
apiVersion: v1
metadata:
  annotations:
    scheduler.alpha.kubernetes.io/critical-pod: ""
  labels:
    component: keepalived
    tier: control-plane
  name: kube-keepalived
  namespace: kube-system
spec:
  hostNetwork: true
  priorityClassName: system-cluster-critical
  containers:
  - name: kube-keepalived
    image: docker.io/osixia/keepalived:2.0.17
    env:
    - name: KEEPALIVED_VIRTUAL_IPS
      value: 192.168.218.100
    - name: KEEPALIVED_INTERFACE
      value: ens33
    - name: KEEPALIVED_UNICAST_PEERS
      value: "#PYTHON2BASH:['192.168.218.44', '192.168.218.60', '192.168.218.59']"
    - name: KEEPALIVED_PASSWORD
      value: crio
    - name: KEEPALIVED_PRIORITY
      value: "100"
    - name: KEEPALIVED_ROUTER_ID
      value: "51"
    resources:
      requests:
        cpu: 100m
    securityContext:
      privileged: true
      capabilities:
        add:
        - NET_ADMIN
• step 8 初始化k8s-01-master-node-01
在k8s-01-master-node-01 上做此步驟
輸出初始化預設參數
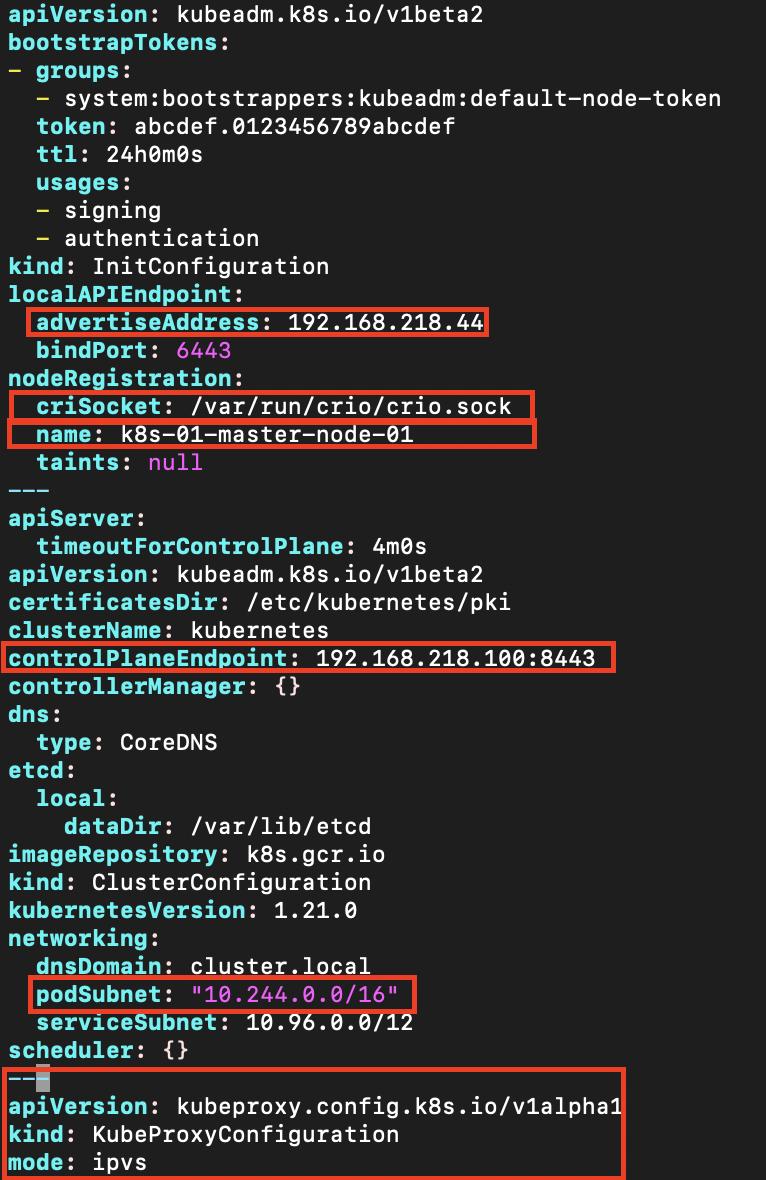
kubeadm config print init-defaults > kubeadm-config.yaml
localAPIEndpoint:
advertiseAddress: 192.168.218.44 #此node的ip
nodeRegistration:
criSocket: /var/run/crio/crio.sock #改為使用crio
name: k8s-01-master-node-01 # node name
controlPlaneEndpoint: 192.168.218.100:8443 # VIP
networking:
podSubnet: 10.244.0.0/16 # 和flannel中一致
---
apiVersion: kubeproxy.config.k8s.io/v1alpha1
kind: KubeProxyConfiguration
mode: ipvs # 開啟IPVS
執行初始化
kubeadm init --upload-certs --config=kubeadm-config.yaml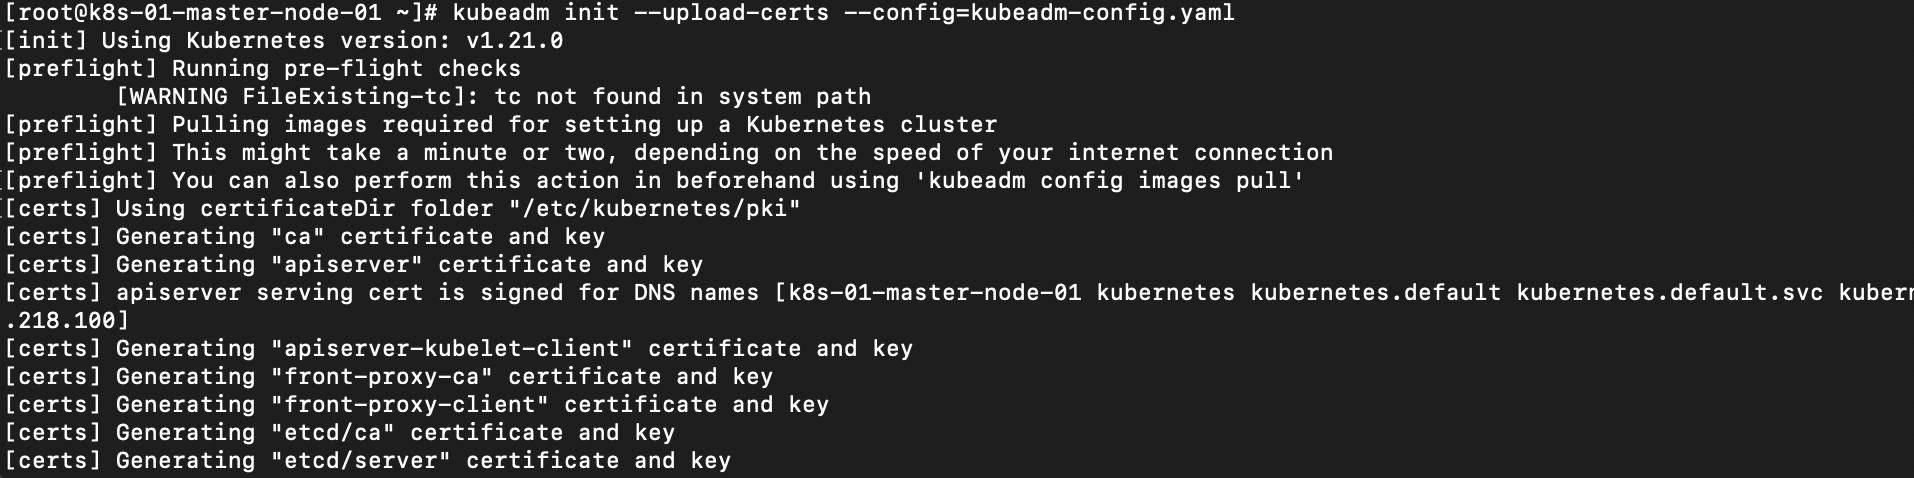

成功後執行以下指令
mkdir -p $HOME/.kube
sudo cp -i /etc/kubernetes/admin.conf $HOME/.kube/config
sudo chown $(id -u):$(id -g) $HOME/.kube/config
建立flannel
kubectl apply -f https://raw.githubusercontent.com/coreos/flannel/master/Documentation/kube-flannel.yml• step 9 將其他master node 加入
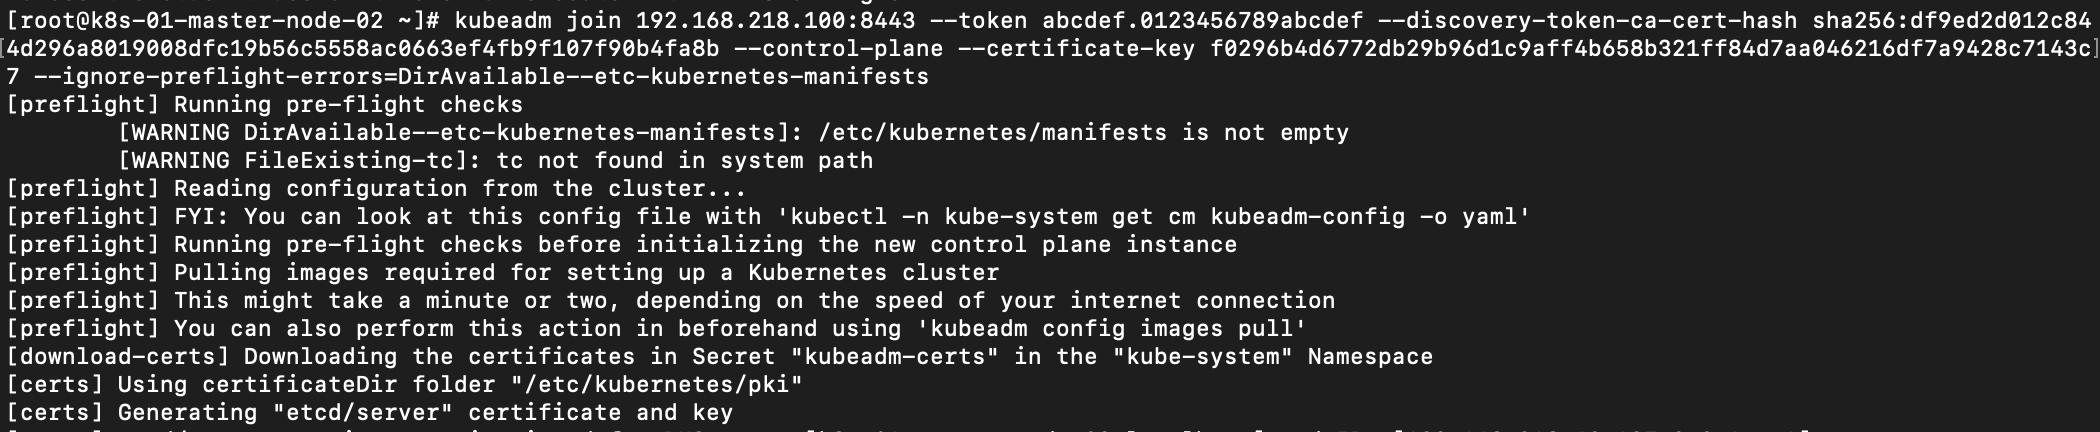
使用前面產生的control plane join指令
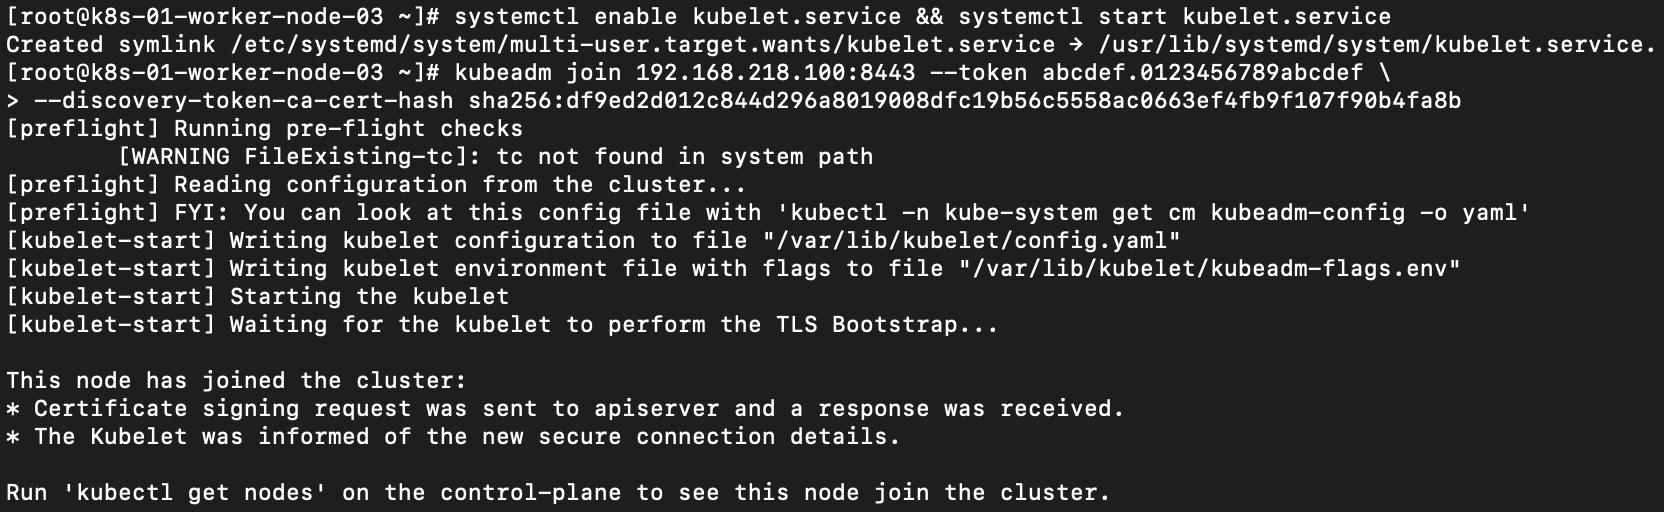
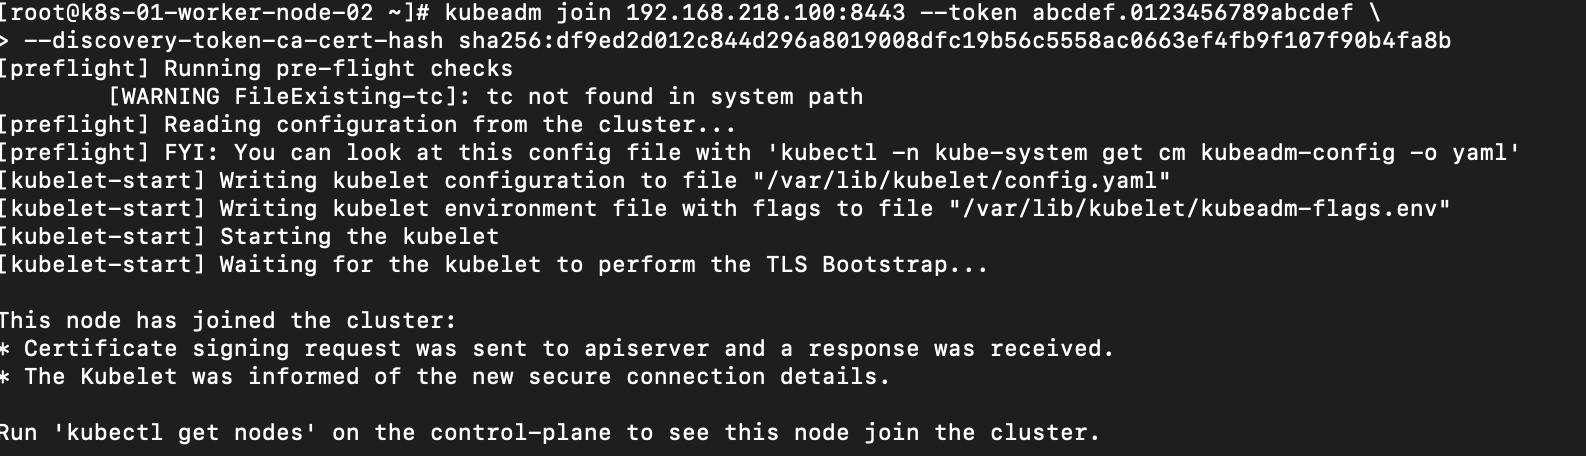
• step 10 將其他worker node 加入
使用前面產生的worker node join指令
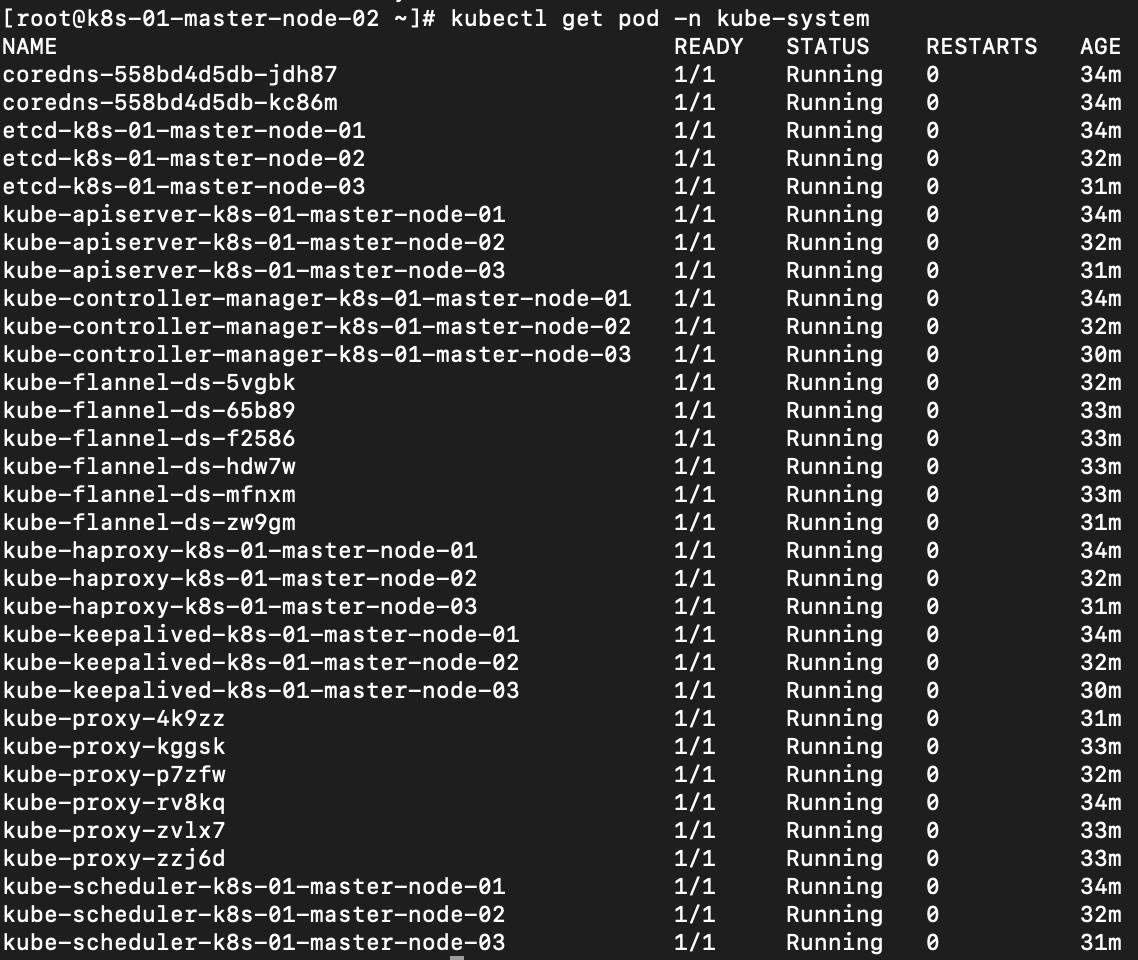
• step 11 查詢所有node狀態

所有master node 上皆有haproxy和keepalived

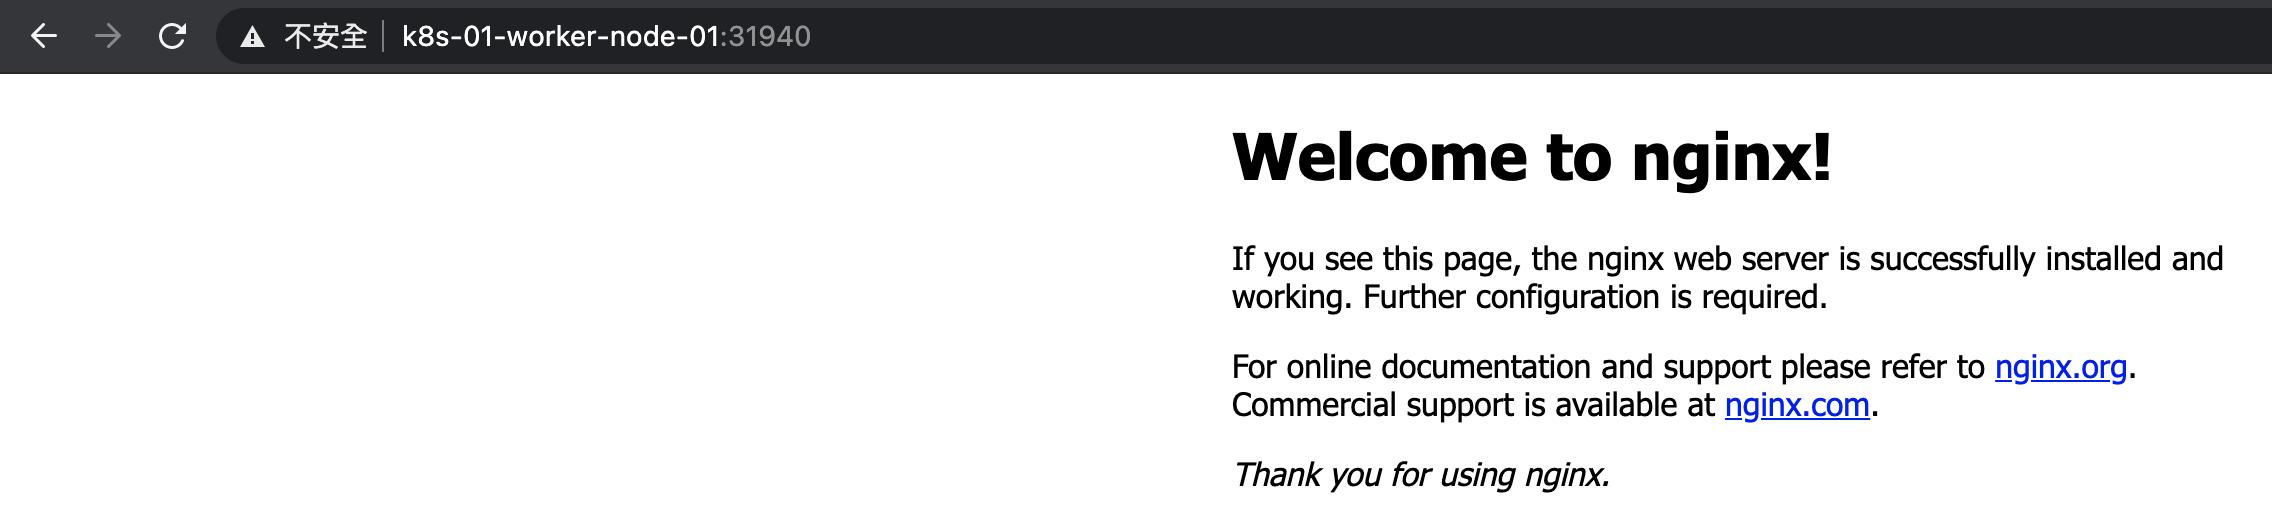
• 測試
這邊用ingress方式expose service 來測試服務
安裝nginx ingress bare-metal
kubectl apply -f https://raw.githubusercontent.com/kubernetes/ingress-nginx/controller-v0.46.0/deploy/static/provider/baremetal/deploy.yaml
建立測試的nginx 服務
apiVersion: networking.k8s.io/v1
kind: Ingress
metadata:
  name: nginx-ingress
spec:
  rules:
  - host: "k8s-01-worker-node-01"
    http:
      paths:
      - pathType: Prefix
        path: "/"
        backend:
          service:
            name: my-nginx
            port:
              number: 80
apiVersion: apps/v1
kind: Deployment
metadata:
name: my-nginx
spec:
selector:
matchLabels:
run: my-nginx
replicas: 2
template:
metadata:
labels:
run: my-nginx
spec:
containers:
- name: my-nginx
image: nginx
ports:
- containerPort: 80apiVersion: v1
kind: Service
metadata:
name: my-nginx
labels:
run: my-nginx
spec:
ports:
- port: 80
protocol: TCP
selector:
run: my-nginx
nginx 服務可以正常訪問
從k8s-01-master-node-01上的keepalived中確認為master
![]()
將k8s-01-master-node-01 vm shutdown

k8s-01-master-node-01變為NotReady,並且master node 上仍然可以正常執行kubectl指令

服務仍能正常訪問
k8s-01-master-node-01 vm 重啟後 node變為Ready

所有服務皆為正常