Adopting iOS Dark Mode
Overview:
iOS announcements at WWDC, in iOS 13.0 and later people can choose Dark Mode as their default interface style, and they can use Settings to make their devices automatically switch to Dark Mode.
Requirements:
- XCode 11
- iOS 13 and above
Implementation:
To support Dark Mode in your interface, we need to update colors, images, and behaviors so that the app adapts automatically when Dark Mode is active.
By default, your app already has dark mode support if your interface using system defaults colors but if it custom then you need to manually add dark mode color support.
If you don't want to give support, you can simply disable it by adding the UIUserInterfaceStyle to your Info.plist and set it to Light.
You can also override the mode using overrideUserInterfaceStyle
// View Controller
override func viewDidLoad() {
        super.viewDidLoad()
        overrideUserInterfaceStyle = .dark
    }

// View
let contactView = UIView()
contactView.overrideUserInterfaceStyle = .dark
How to create adaptive color objects?
By two ways:
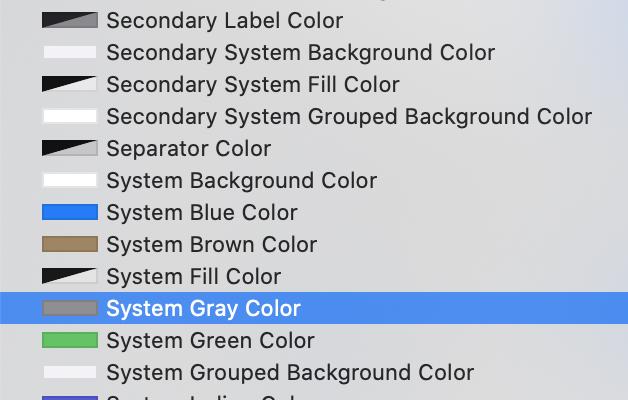
1. Choose semantic colors instead of fixed color values
Semantic colors automatically adapt to system settings, like Dark Mode, to give your app a UI that is always legible.
Semantic fonts are used in Dynamic Type to make sure that your font sizes always scale with to meet the user's needs.
To set programmatically
override func viewDidLoad() {
        super.viewDidLoad()
        let nameLabel = UILabel()
        nameLabel.textColor = .label
        self.view.backgroundColor = .systemBackground
    }
Using Storyboard/xib
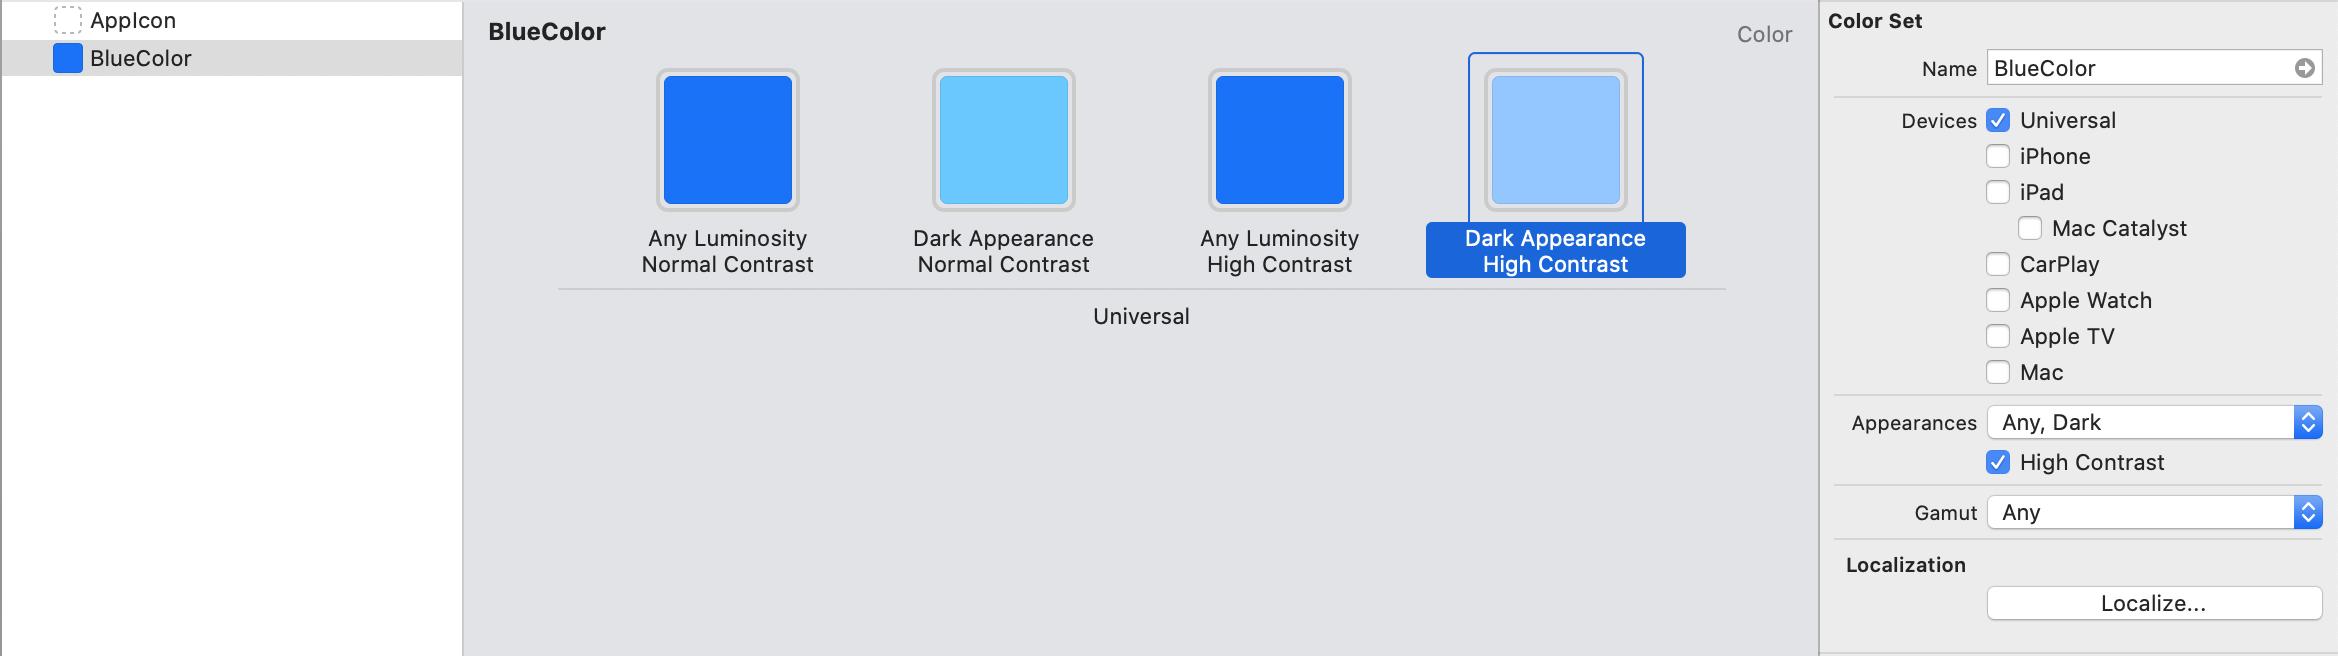
2. Define custom colors in your asset catalog
When you need a specific color, create it as a color asset. In your asset, specify different color values for both light and dark appearances. You can also specify high-contrast versions of your colors.
Use the Any Appearance variant to specify the color value to use on older systems that do not support Dark Mode.
To use a color value from Assets
let labelColor = UIColor(named: "BlueColor")UI controls border-color does not update dynamically in dark mode when you change appearance live from settings or in-app.
Set border color in UIView's layoutSubViews() to make an update
override func layoutSubviews() {
        super.layoutSubviews()
        layer.borderColor = Colors.separator.cgColor
    }
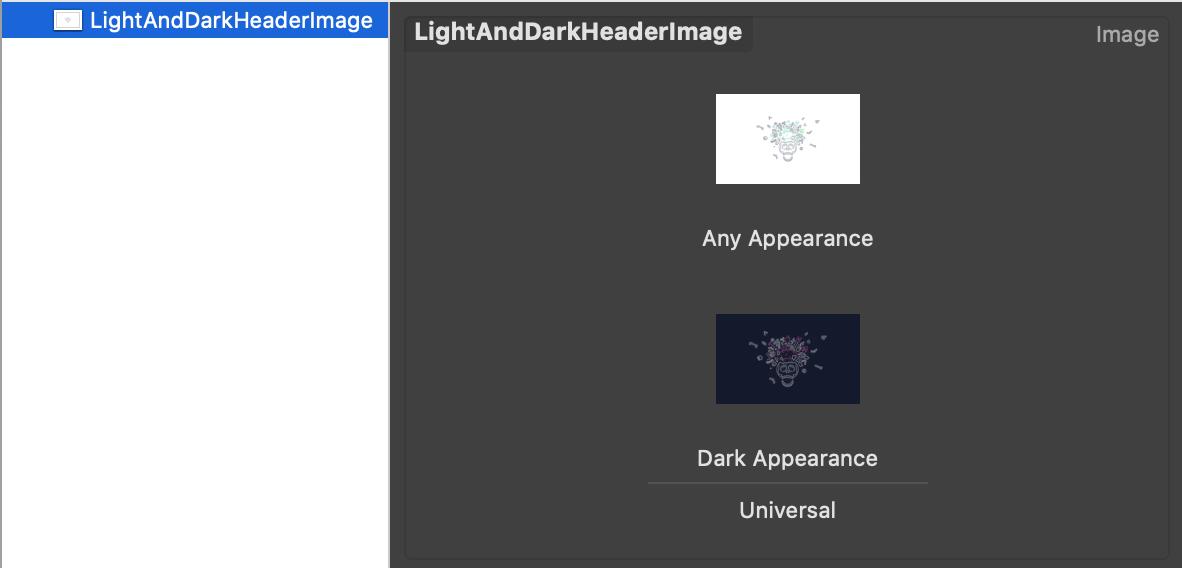
Create Images for All Appearances
Make sure the images in your interface look good in both light and dark appearances. Images mostly used in buttons, image views, custom views, and other controls. If images do not look good in dark mode, better to add a new image in assets.
Even better to use a symbol image or template image, which defines only the shape to render and therefore do not require separate images for light, dark, and high-contrast environments.
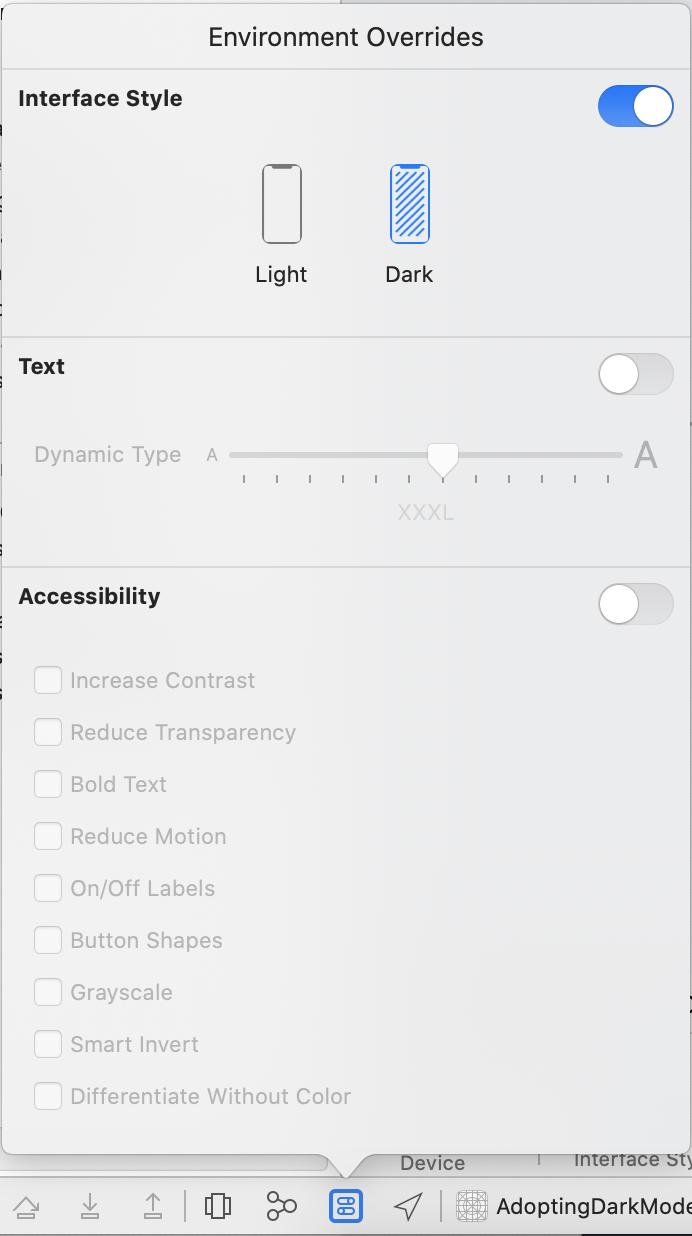
Preview in XCode:
live debugging by applying appearance style
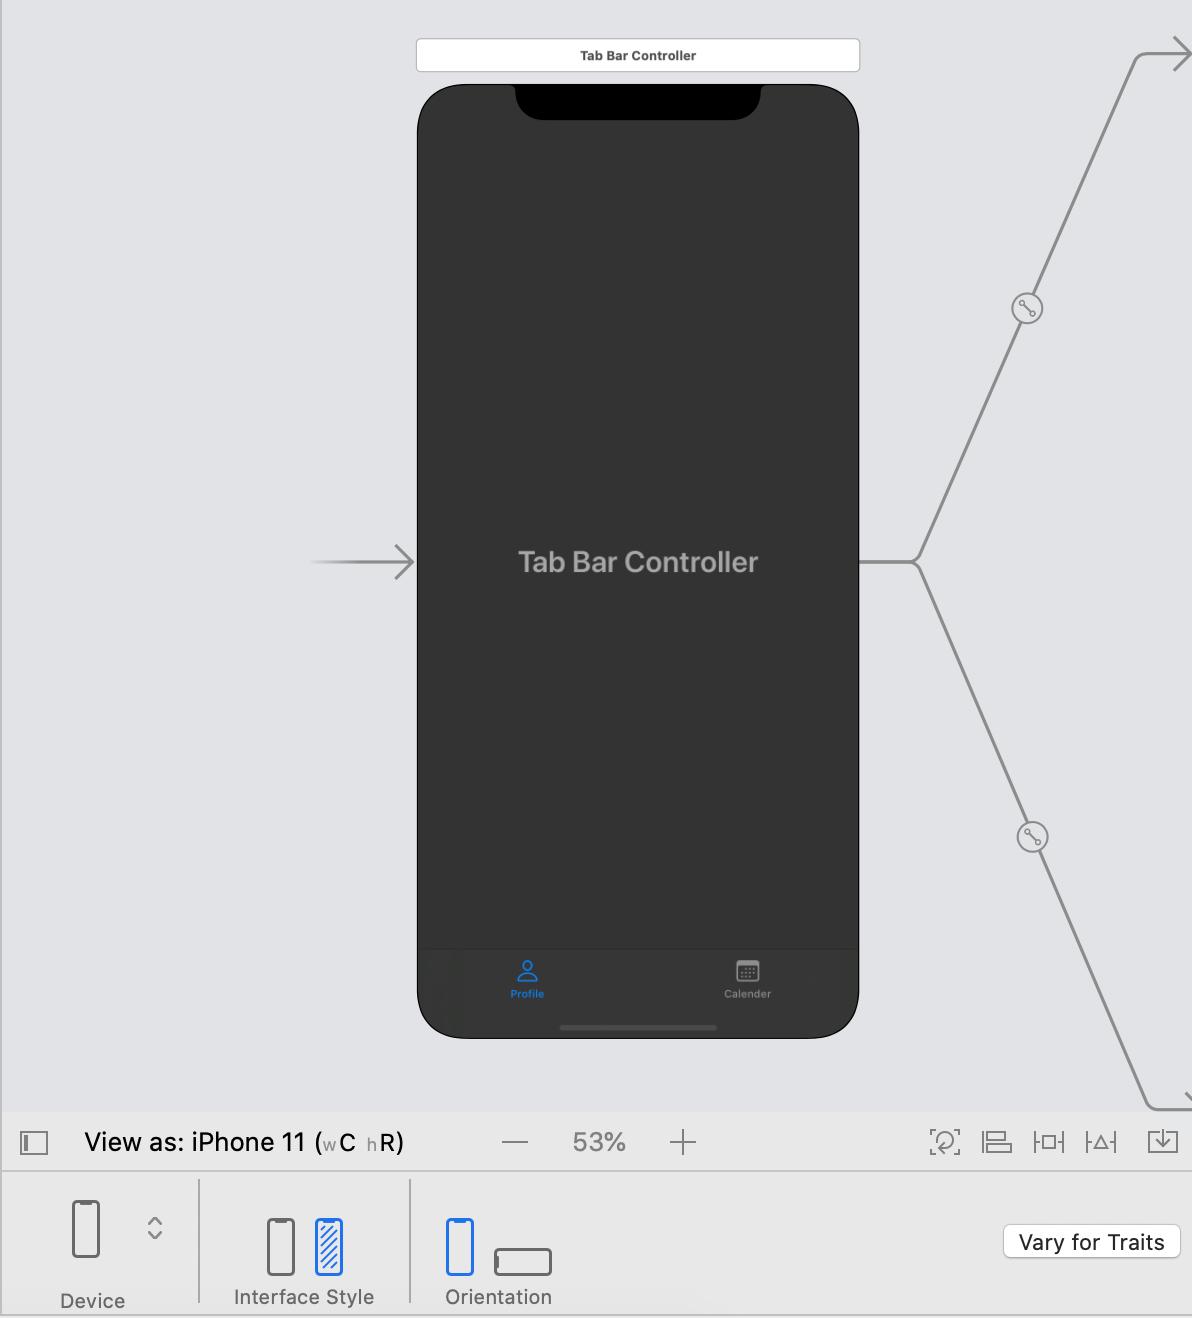
For simulator debug, when your app is running, you can see the icon for 'Environment Overrides'. Simply click on it and change the interface style
Conclusion:
We successfully covered an adapting Dark Mode in your app using both methods Semantic and Adaptive Colors. Hope you'll enjoy while adoption dark more :)
If any suggestions or have a question, please feel free to comment or email.
Thanks for reading!